How to Add a Site in Kinsta

Just signed up for Kinsta and ready to launch your first site?
Whether you’re a beginner or migrating from another host, adding a new site in Kinsta is fast and easy.
Unlike traditional hosts with complicated dashboards, Kinsta simplifies everything through their custom control panel: MyKinsta.
📌 In this guide, I’ll show you step-by-step how to add a WordPress site in Kinsta in just a few clicks—even if you’re brand new to hosting.
Table of Contents
Step 1: Log in to MyKinsta Dashboard
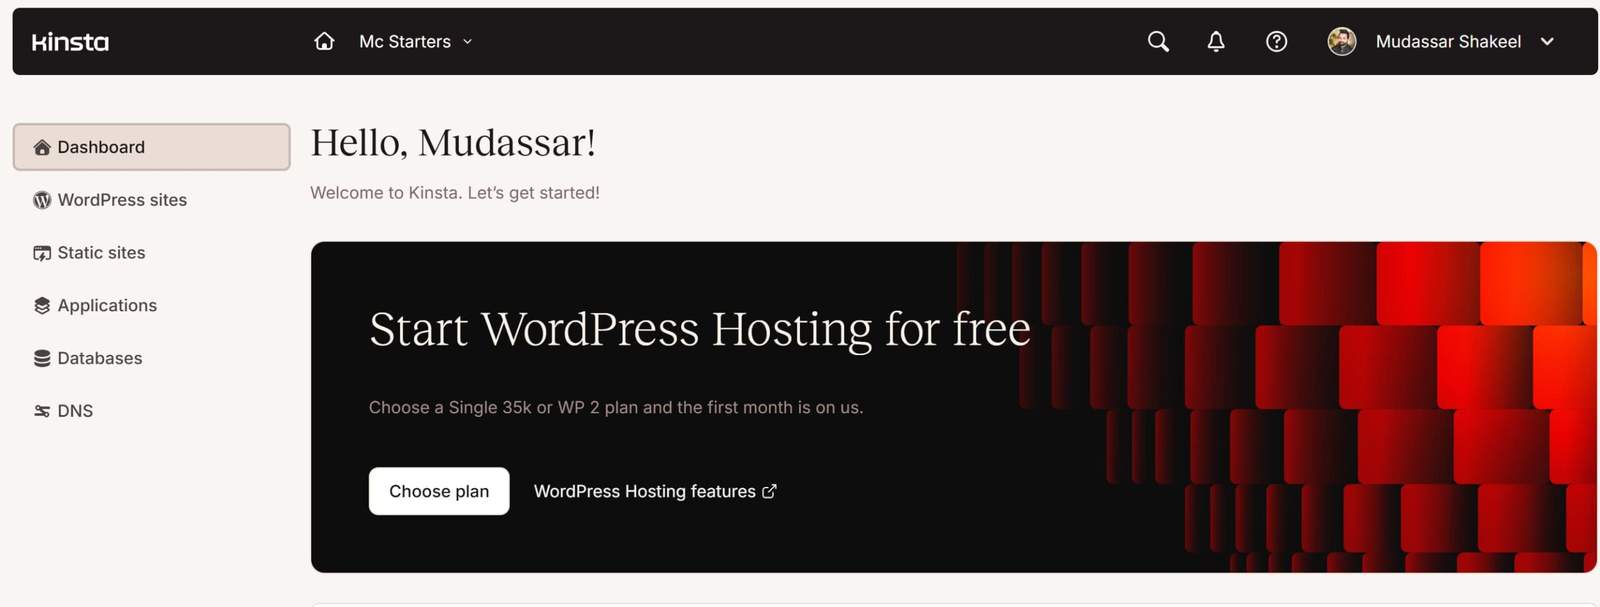
First, visit my.kinsta.com and log in with your credentials.
If this is your first time, you’ll land on the MyKinsta dashboard.
Here you’ll see:
- Your current sites (if any)
- Options to add new sites, users, and companies
- Resource usage and support chat access

Step 2: Click “Add Site”
In the left-hand menu, click “Sites”, then click the “Add Site” button.
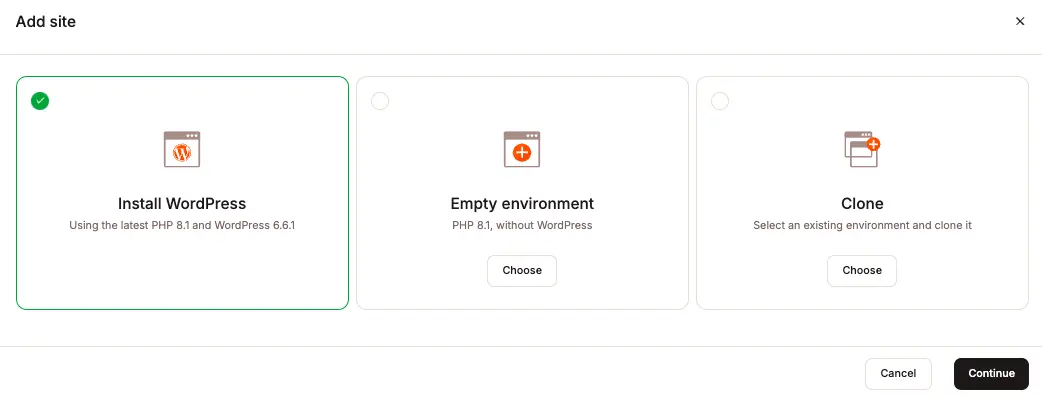
You’ll now be prompted to choose between:
- Install a brand new WordPress site
- Clone an existing Kinsta site
- Don’t install WordPress (blank install)
Most users should select “Install WordPress”.

Step 3: Configure WordPress Installation
Fill in the following settings:
- Site Name: Internal name for organizing in dashboard
- Data Center: Choose the location closest to your audience (e.g. US Central, London, Mumbai)
- WordPress Site Title
- Admin Username & Password
- Admin Email
Optional features:
- Enable WooCommerce (for eCommerce)
- Enable WordPress Multisite
- Set your site as staging (instead of live)
🎯 Use strong admin passwords and never reuse credentials—Kinsta takes security seriously, and so should you.
Step 4: Select Your Company and Plan
If you have multiple companies or client groups in MyKinsta, choose where this site belongs.
You’ll also be shown which hosting plan the site will use. Starter plans allow 1 site, higher-tier plans allow more.
If you’ve hit your limit, Kinsta will prompt you to upgrade or remove an old site.
Step 5: Review and Confirm
Check your configuration. If everything looks correct, click “Add Site”.
Kinsta will:
- Automatically create a new site container
- Install WordPress and apply security defaults
- Add SSL, caching, and PHP settings
- Prepare DNS records (optional if domain is registered elsewhere)
In most cases, your new site will be ready in less than 2 minutes.
🎯 Want free migration? If you’re moving from another host, Kinsta will migrate your site for free—just request it inside your dashboard.
Step 6: Access Your New Site
Once the setup is complete, you’ll see your new site in the dashboard.
Click the site to manage:
- Domains
- Backups
- Cache
- Staging environment
- Analytics and traffic logs
You can now:
- Point your domain (via DNS) to the new site
- Install a theme and start building
- Add a CDN, enable monitoring, and more
That’s it—you’ve added a live WordPress site on Kinsta in just a few clicks!
Tips After Adding Your Site
- Use the built-in SSL tool to secure your site
- Set up daily backups (enabled by default)
- Use one-click staging to test changes
- Use Kinsta’s cache tool instead of plugins like WP Super Cache
- Monitor TTFB, PHP workers, and CDN usage from analytics tab
🎯 Not sure where to start with DNS or staging? Kinsta’s support team is available 24/7 to walk you through it live.
Frequently Asked Questions
Can I host multiple sites on Kinsta?
Yes, depending on your plan. The Starter plan supports 1 site, while higher-tier plans allow 2, 5, 10, or more sites under one account.
Do I need to install WordPress manually on Kinsta?
No. Kinsta offers automatic WordPress installation during site setup. It’s one of the easiest setups among premium hosts.
Can I create staging sites with Kinsta?
Yes. Every live site comes with a 1-click staging option. You can push changes from staging to live instantly.
How long does it take to add a site in Kinsta?
Usually under 2 minutes. WordPress, SSL, and caching are all set up automatically in the background.


