
Creating a sitemap for your website is crucial in ensuring a smooth and organized user experience. In this blog post, we’ll guide you through creating a sitemap using webflow, a user-friendly web design platform.
Quick Way to Create a Sitemap in Webflow
Here is a step-by-step guide to creating a sitemap in webflow.
Step 1: Access Site Settings within your Webflow project.
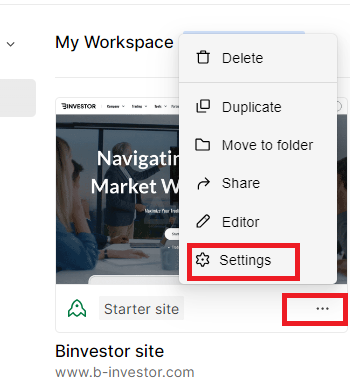
Step 2: Navigate to the SEO tab > Sitemap section. Toggle “Auto-generate sitemap” to “Yes” to enable it.

Step 3: Click “Save changes.” Publish your site.
After you’ve created and organized your sitemap, you’ll want to make it visible to your website visitors. To do this, go back to the main project settings and make sure the “Show in Navigation” option is selected.
Congratulations! You’ve successfully created a sitemap for your website using webflow. This will not only help with user navigation but also improve your site’s SEO, making it easier for search engines to index your content.
conclusion
In summary, Webflow offers a user-friendly and intuitive way to create and manage your website’s sitemap. By following these ten simple steps, you can ensure your website is well-structured and easy to navigate for your visitors. Happy sitemap building!