
Are you ready to import your Mailchimp contacts into Convertkit? Are you looking to transition your email marketing efforts from Mailchimp to Convertkit?
Importing your existing contacts from Mailchimp into Convertkit is a crucial step in this process. By migrating your contacts, you can seamlessly continue your email campaigns and audience management using Convertkit’s powerful features.
ConvertKit Tutorial: A Complete Guide
In this guide, we’ll walk you through the steps to import your Mailchimp contacts into Convertkit efficiently, whether you choose to use Convertkit’s Mailchimp contacts importer or opt for a CSV file import.
Let’s get started on streamlining your email marketing platform transition!
Import Your Mailchimp Contacts into ConvertKit
Import Mailchimp contacts into the Convertkit by using 2 methods that are easy to use for you.
Convertkit provides two options.
- Using Convertkit contacts importer
- Importing mailchimp contacts via a CSV file
Importing contacts into Convertkit is a very easy and quick process. We have explained both of methods for your understanding and problem solutions.
Import Your Mailchimp Contacts Using ConvertKit Mailchimp contacts Importer:
Fellow step-by-step guide to importing your Mailchimp contacts using Convertkit Mailchimp contacts importer. Convertkit importing subscribers is an easy process.
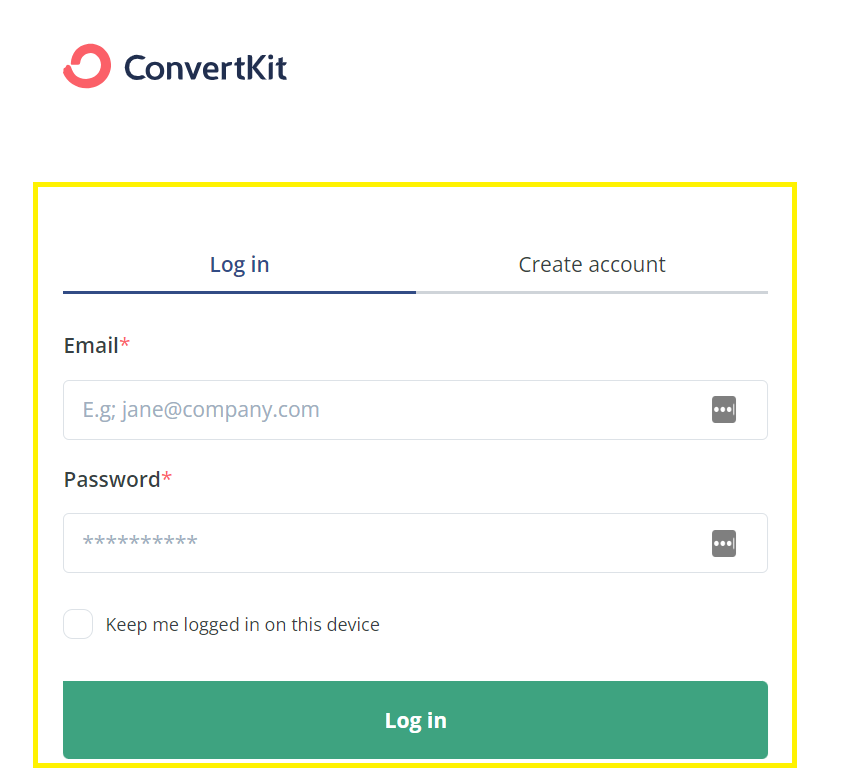
Step 1: Log in to your ConvertKit account.
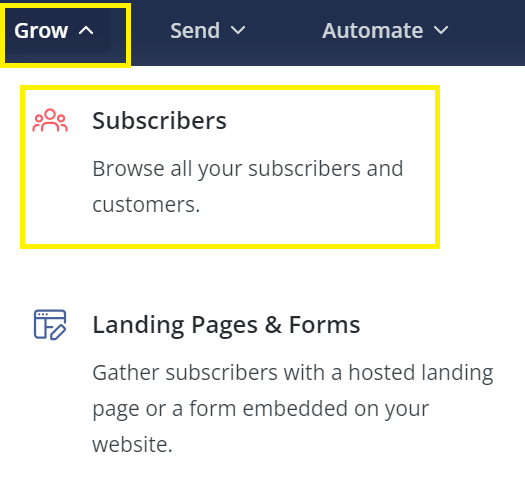
Step 2: Click on “Subscribers” in the top navigation menu under the “Grow” tab to access your subscriber management area.
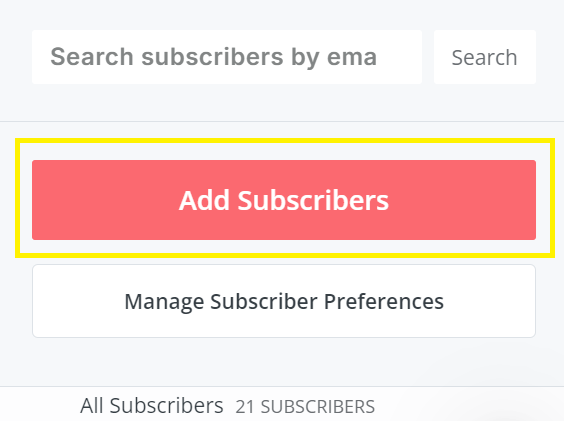
Step 3: Within the “Subscribers” section, click “Add Subscribers” to initiate the import process.
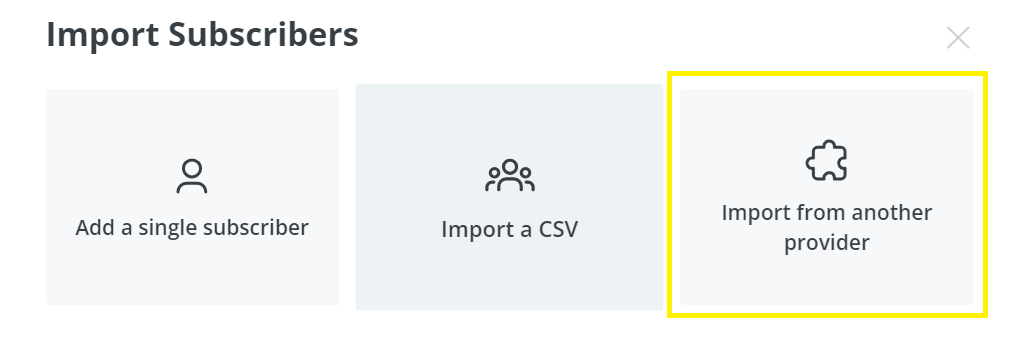
Step 4: Select “Import from another provider” in the import window that appears.
Step 5: Choose “Mailchimp” from the list of available providers to specify the source of your contacts.
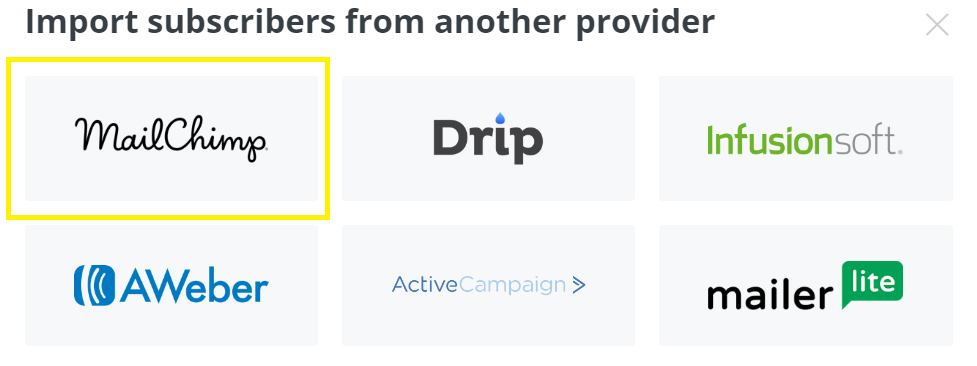
Step 6: Enter your Mailchimp API key when prompted. Click “Continue import” to proceed with the import process.
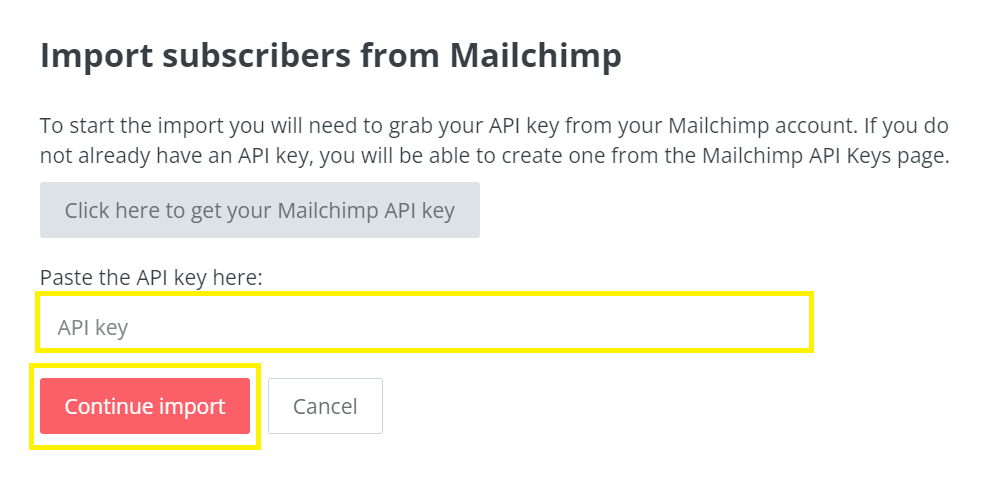
By following these steps, you’ll be well on your way to importing your Mailchimp contacts into Convertkit using the Mailchimp contacts importer.
Important Note:
- Tags corresponding to Mailchimp audiences, groups, and segments will be added to your Convertkit contacts.
- Automation rules and visual automations triggered by these tags will apply post-import. Temporarily disable any unwanted automation before starting the import.
Import Your Mailchimp Contacts via a CSV file from ConvertKit:
Fellow step-by-step guide to importing your Mailchimp contacts via a CSV file from Convertkit.
Step 1: First export contacts from Mailchimp. Log in to your Mailchimp account, navigate to the desired audience or segment, and export your contacts as a CSV file.

Step 2: Log in to your ConvertKit account.
Step 3: Click on “Subscribers” under the “Grow” tab in the top navigation menu.
Step 4: Within the “Subscribers” section, click “Add Subscribers” to initiate the import process.
Step 5: Select “Import a CSV” and upload the CSV file exported from Mailchimp.
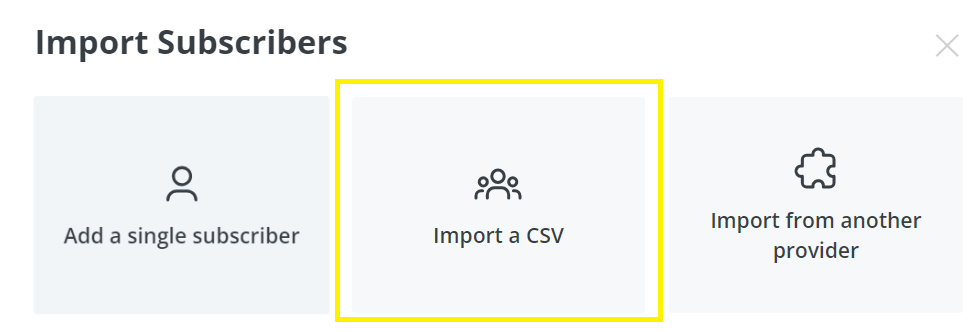
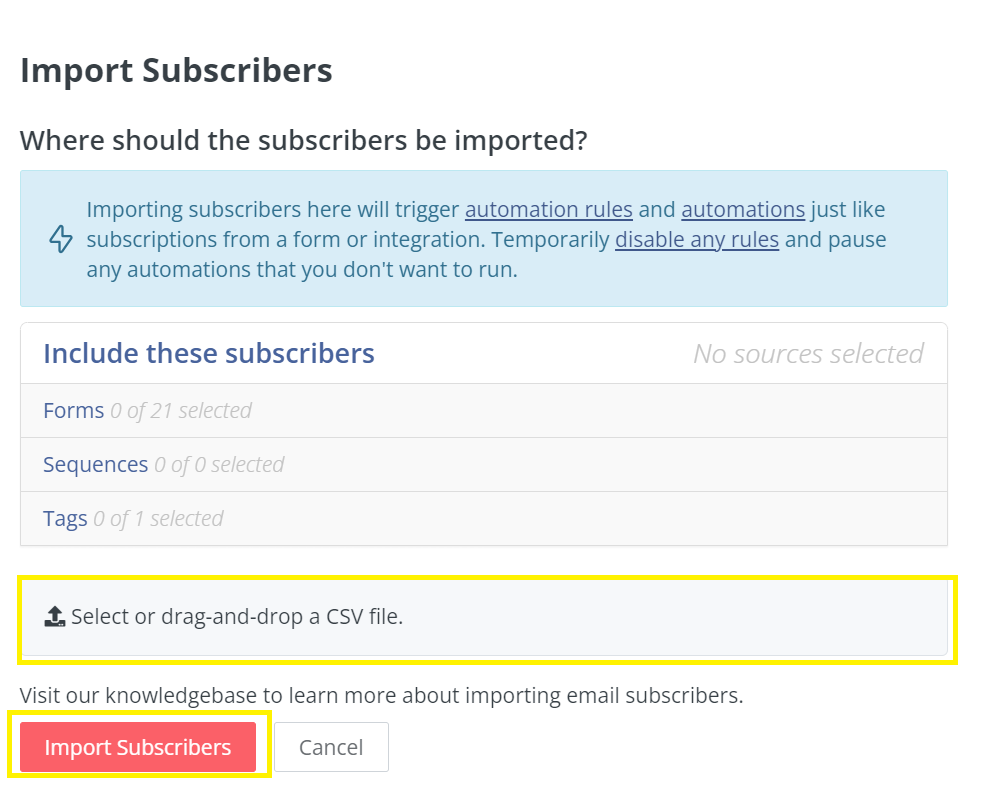
Step 6: Match the CSV file’s data fields (e.g., email address, first name) with Convertkit’s corresponding fields during the import.
Follow these steps to efficiently import your Mailchimp contacts into Convertkit using a CSV file, ensuring a smooth transition to your email marketing efforts.
Conclusions
Migrating your contacts from Mailchimp to Convertkit doesn’t have to be daunting. Whether you choose Convertkit Mailchimp contacts importer for a quick transfer or opt for the flexibility of a CSV import, ConvertKit provides the tools you need to make the transition smooth.
Happy importing!